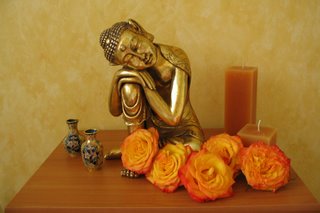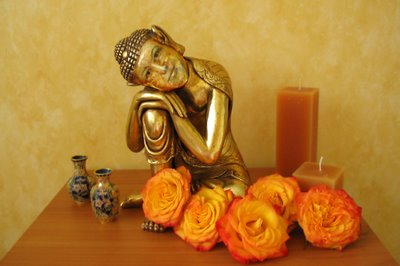
 In our bedroom we have a small statue called "the Sleeping Buddha". When there comes a time when you have too much time on your hands, and far too little to do, the result can be as shown above. The original pic is the smaller one on the left, and the finished result is on the right.
I photographed the statue with some roses in front of it. I then looked for some pictures of my fiancée in my archives and started my project.
This is what I did (briefly) using Photoshop 7:
- I copied the face of my fiancée to the image of the Buddha. Using Free transform, I made it the right size and rotated it correctly.
-I desaturated the image.
-I then created a new layer, which I placed at the top. The layer was created by copying the background layer and then making the eyes, nose and mouth of the statue dissapear using the clone-stamp. I used the patch-tool to make the new "non existing" face look smooth, without loosing the golden texture.
-I used layer masks on both the human face and the new "non existing" face to get them to fit perfectly onto the statue.
-I set the blend-mode of the top layer to "overlay".
-Using different layers and layermasks the face took shape. To get the face to appear more clearly I enhanced the shadows and the highlights in the picture. I found it important to use different settings of the paintbrush opacity (preferrably low values).
Creating this image took about five hours of work (breaks included).
Please tell me what you think about the result :)


